Hello everyone,
Today I have a step by step tutorial how I created this adventure await tag.
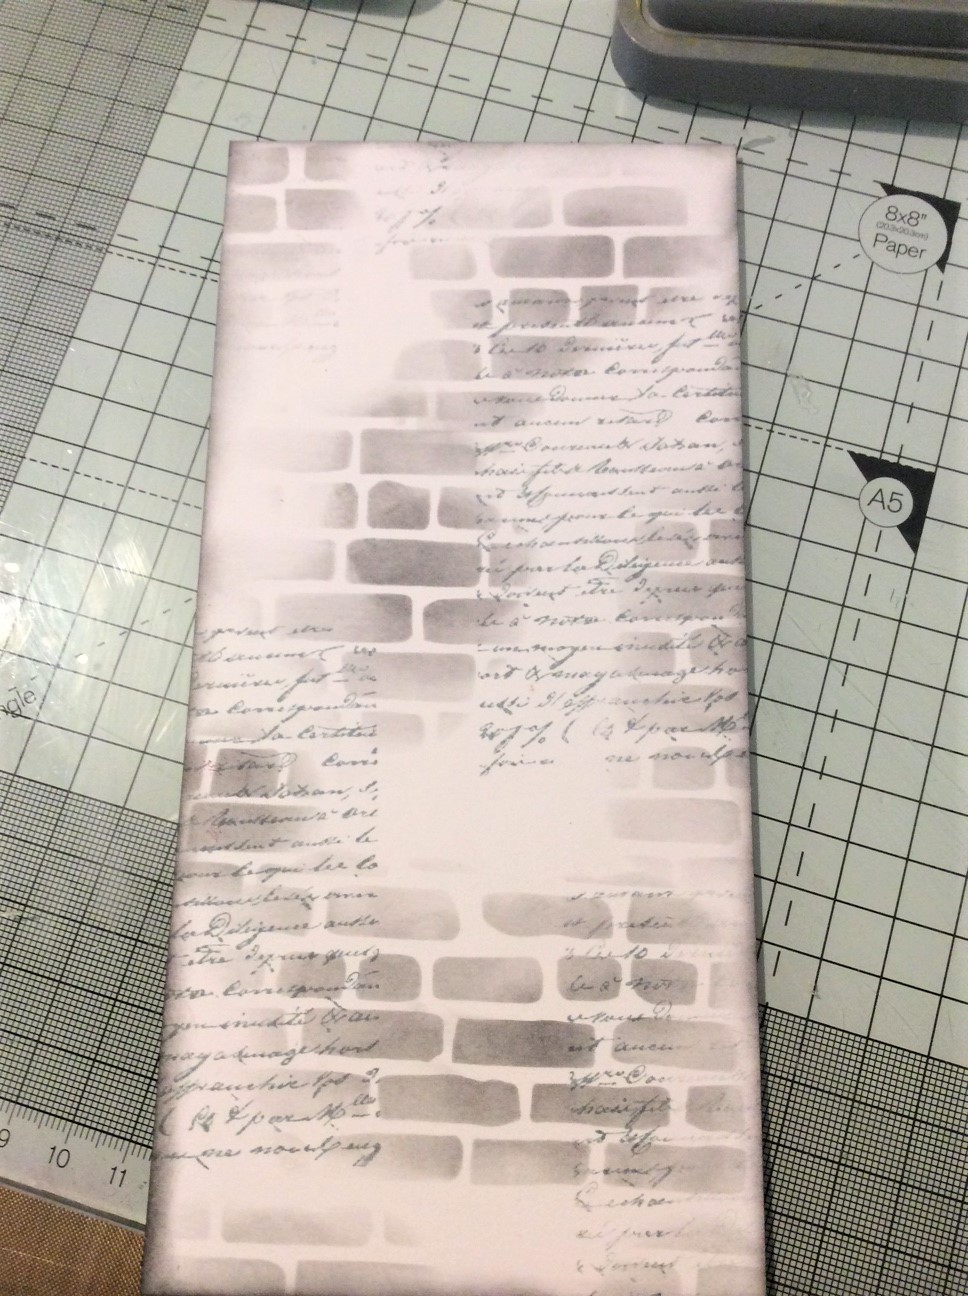
I used the tim holtz mixed media tag.
 Cover with a blue acrylic paint.
 Used the crackle paste of your choice to create the crackle effects. I used pentart paste.
 I used Oxides to add some colour.
 Used the yellow spray paint to add some colour
 I stamped some elements from the set.
 When I was happy with colours I started planning my layout.
 Add some net , twine and mixed media ribbon .
Start placing the elements on the tag .
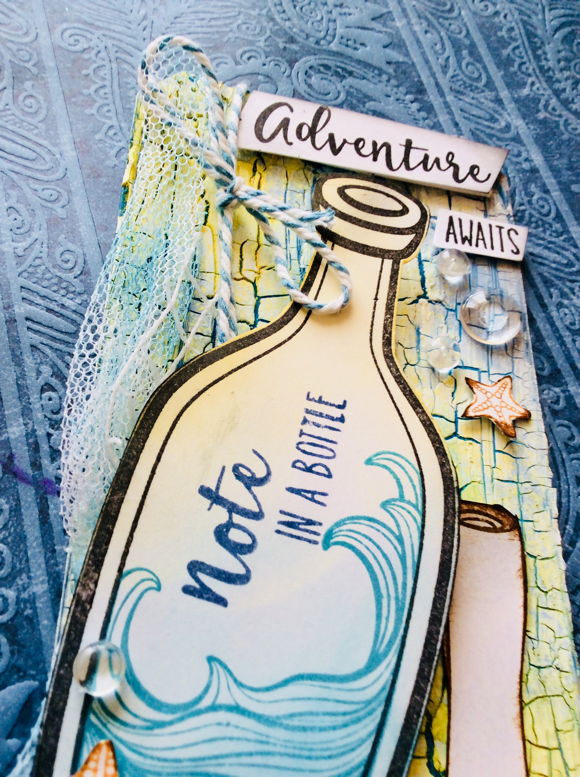 Added some transparent cabochons.


 Hope you like my mixed media ag using the beautiful stamp set from Honey bee available to purchase online from kBumbleberry papercrafts
Hugs,
Kasia